
Unlocking God Mode: A Comprehensive Guide to Risk of Rain 2 Artifact Codes
Risk of Rain 2, the wildly popular roguelike shooter, offers a unique layer of customization and challenge through its artifact system. These artifacts, unlocked through dedicated gameplay, fundamentally alter the game’s mechanics, creating wildly different and often hilarious experiences. Understanding and utilizing Risk of Rain 2 artifact codes is key to truly mastering the game and tailoring it to your preferred level of chaos. This guide provides an in-depth exploration of every artifact, how to unlock them, and the impact they have on your runs, ensuring you’re fully equipped to bend the rules of Petrichor V to your will.
This isn’t just a list of codes; we’re diving deep. We’ll explore strategies for unlocking each artifact, analyze their impact on different playstyles, and even discuss some of the most entertaining and challenging combinations. Whether you’re a seasoned survivor looking to spice things up or a newcomer overwhelmed by the possibilities, this comprehensive guide will empower you to harness the full potential of Risk of Rain 2’s artifact system.
Decoding the Mystery: What are Risk of Rain 2 Artifact Codes?
The term “artifact codes” in Risk of Rain 2 refers to the specific sequences of symbols you input at the Bazaar Between Time to activate gameplay-altering artifacts. These artifacts dramatically change the rules of the game, affecting everything from enemy spawns and item drops to player abilities and overall difficulty. Each code corresponds to a unique artifact, offering a distinct twist on the core gameplay loop.
Unlike cheat codes, these artifact codes are an intended game mechanic. They’re not about skipping content or gaining unfair advantages (though some combinations can certainly feel that way!). Instead, they’re about modifying the game to create personalized challenges and unique experiences. Think of them as modifiers that allow you to tailor the game to your preferred playstyle, whether you’re seeking an easier time, a brutal test of skill, or just pure, unadulterated chaos.
The brilliance of the artifact system lies in its flexibility. You can activate a single artifact for a subtle change, or combine multiple artifacts for a truly transformative experience. The possibilities are vast, and experimenting with different combinations is a key part of the fun. Understanding how each artifact works and how they interact with each other is crucial for maximizing their potential.
Unlocking the Power: How to Obtain Artifacts
Before you can input any codes, you need to unlock the artifacts themselves. This involves finding and activating specific artifact keys hidden within the game’s various levels. The process is consistent for all artifacts:
- Locate the Artifact Trial: Each artifact has a corresponding trial located on a specific stage. The location is fixed, but the stage appears randomly.
- Find the Artifact Key: Within the trial area, you’ll need to find the artifact key. These keys are often hidden in obscure locations, requiring careful exploration and platforming skills.
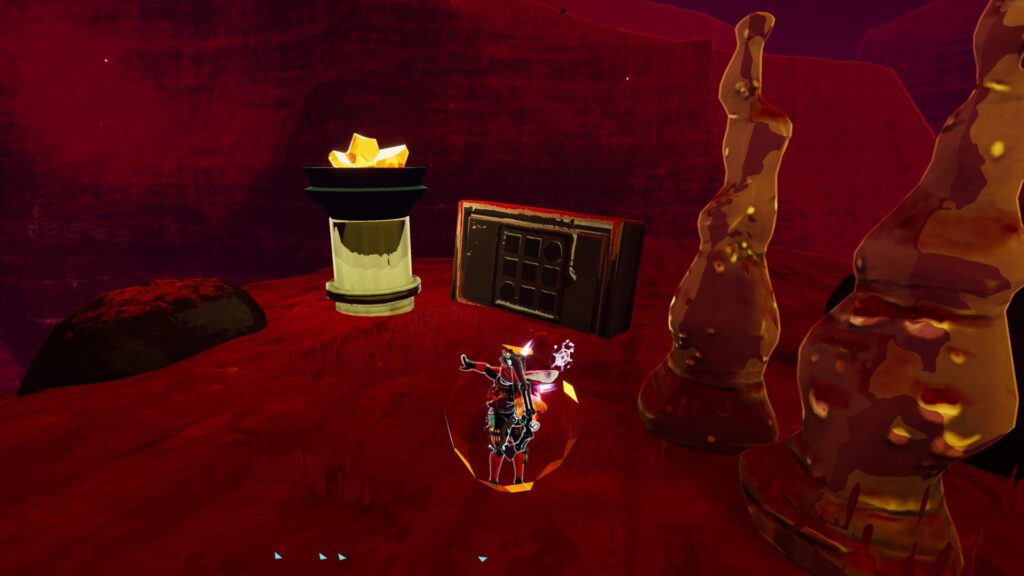
- Input the Code: Once you have the key, you’ll need to input the correct sequence of symbols on the central artifact pedestal. The code corresponds to the specific artifact trial you’re in.
- Survive the Challenge: Activating the artifact trial will trigger a challenging wave-based encounter. Survive the onslaught to unlock the artifact.
Successfully completing the trial unlocks the artifact, allowing you to activate it by inputting its corresponding code at the Bazaar Between Time before starting a new run. Let’s delve into each artifact and its code.
The Complete Compendium: Every Risk of Rain 2 Artifact Code and Its Effect
Here’s a comprehensive breakdown of every artifact in Risk of Rain 2, including its code, how to unlock it, and its effect on gameplay:
- Artifact of Command:
- Code: Diamond, Diamond, Square, Triangle
- Location: Distant Roost
- Effect: Allows players to choose which items they receive from item drops.
- Artifact of Dissonance:
- Code: Triangle, Diamond, Triangle, Square
- Location: Abyssal Depths
- Effect: Monsters can spawn outside of their usual environments.
- Artifact of Enigma:
- Code: Square, Square, Diamond, Triangle
- Location: Sulfur Pools
- Effect: Players spawn with a random equipment item each stage.
- Artifact of Evolution:
- Code: Triangle, Triangle, Triangle, Diamond
- Location: Gilded Coast
- Effect: Monsters gain items as time passes.
- Artifact of Glass:
- Code: Diamond, Diamond, Diamond, Diamond
- Location: Abandoned Aqueduct
- Effect: Doubles player damage but reduces health to 10%.
- Artifact of Honor:
- Code: Square, Diamond, Diamond, Diamond
- Location: Hidden Chamber (requires 10 Lunar Coins)
- Effect: Enemies always spawn as elites.
- Artifact of Kin:
- Code: Triangle, Triangle, Diamond, Diamond
- Location: Rallypoint Delta
- Effect: Only one type of monster spawns per stage.
- Artifact of Metamorphosis:
- Code: Triangle, Square, Triangle, Triangle
- Location: Scorched Acres
- Effect: Players start as a random survivor each stage.
- Artifact of Sacrifice:
- Code: Diamond, Triangle, Diamond, Triangle
- Location: Ancient Valley
- Effect: Monsters no longer drop items, but item chests no longer spawn. Instead, items drop directly from enemies.
- Artifact of Soul:
- Code: Diamond, Triangle, Triangle, Square
- Location: Simulacrum
- Effect: Disables the ability to heal normally; healing only occurs by using equipment.
- Artifact of Spite:
- Code: Square, Square, Square, Square
- Location: Wetland Aspect
- Effect: Enemies drop exploding bombs on death.
- Artifact of Vengeance:
- Code: Square, Square, Square, Triangle
- Location: Sky Meadow
- Effect: A vengeful clone of the player spawns every 10 minutes.
Strategic Synergies: Combining Artifacts for Maximum Mayhem (and Fun!)
The real magic happens when you combine artifacts. Here are a few popular and potent combinations:
- Command + Sacrifice: This is a classic combination for targeted item builds. Since chests don’t spawn, you’re relying entirely on enemy drops, but with Command, you can choose exactly what you want, creating powerful and synergistic builds quickly.
- Glass + Command: High risk, high reward. The doubled damage is incredible, but the 10% health is terrifying. Command allows you to mitigate the risk by choosing defensive items like Tougher Times or healing items like Medkit.
- Kin + Dissonance: This combination can lead to some truly bizarre and challenging encounters. You’ll face only one type of monster per stage, but that monster could be anything, even a horde of powerful elites.
- Enigma + Command: Start each stage with a new random equipment item and then use the Artifact of Command to build around it.
Experimentation is key! Don’t be afraid to try out different combinations and see what works best for your playstyle. Some artifacts might seem weak on their own, but they can become incredibly powerful when combined with the right synergies.
Mastering the Challenges: Tips and Tricks for Unlocking Artifacts
Unlocking artifacts can be challenging, especially on higher difficulties. Here are some tips to help you succeed:
- Play on Drizzle (Easy): There’s no shame in turning down the difficulty to make unlocking artifacts easier. The goal is to learn the trial and secure the artifact, not necessarily to prove your skill.
- Prioritize Mobility: Many artifact trials require precise platforming. Items that increase your movement speed or jump height are invaluable.
- Learn the Layouts: Each artifact trial has a unique layout. Familiarize yourself with the layout and the location of the key before attempting the trial.
- Use a Strong Early-Game Character: Characters like Huntress, Commando, and Mercenary are generally considered strong in the early game and can make the trials easier.
- Don’t Be Afraid to Use a Guide: If you’re stuck, there are plenty of online guides and videos that can help you find the artifact keys and complete the trials.
Artifacts and the Meta: How They Impact Different Playstyles
Artifacts significantly alter the game’s meta, influencing which characters and items are most effective. For example, the Artifact of Glass drastically changes the value of healing items, making them essential for survival. The Artifact of Command allows for highly specialized builds, making certain characters and items even more powerful. Understanding these interactions is crucial for optimizing your gameplay and maximizing your chances of success.
Consider how each artifact affects your chosen character’s strengths and weaknesses. Does it amplify their strengths, or does it exacerbate their weaknesses? Are there specific items that become significantly more valuable with a particular artifact active? By considering these factors, you can create powerful and synergistic builds that dominate the game.
The Future of Risk of Rain 2 Artifacts: What’s Next?
While Risk of Rain 2 has seen its major content updates, the artifact system remains a core part of its identity. The modding community continues to create new and innovative artifacts, expanding the possibilities even further. It’s likely that the artifact system will continue to evolve and adapt as the game’s community explores new ways to play and challenge themselves.
The developers created a robust system that allows for near endless replayability and customization. Risk of Rain 2 artifact codes aren’t just cheat codes; they’re keys to unlocking new dimensions of gameplay. Experiment, explore, and discover your own favorite combinations. The possibilities are endless.
Ready to Remix Your Runs?
Understanding and utilizing Risk of Rain 2 artifact codes is essential for truly mastering the game and tailoring it to your preferred level of challenge. From the chaos of Dissonance to the calculated power of Command, artifacts offer a wealth of possibilities for customizing your gameplay experience. Now that you are armed with this knowledge, dive in, experiment, and discover the unique challenges and rewards that await you. Share your favorite artifact combinations and strategies in the comments below!
