
Stop the Drip: Expert Guide to Fixing Delta Kitchen Faucet Leaks
Is the persistent drip, drip, drip of your Delta kitchen faucet driving you crazy and wasting water? A leaky faucet isn’t just an annoyance; it can lead to higher water bills and potential damage to your sink and surrounding areas. This comprehensive guide provides you with expert insights and step-by-step instructions to diagnose and fix common Delta kitchen faucet leaks. We’ll cover everything from identifying the source of the leak to replacing worn-out parts, ensuring you can restore your faucet to its full, leak-free functionality. Our goal is to equip you with the knowledge and confidence to tackle this common household problem effectively, saving you money and preventing further damage.
Understanding the Common Causes of Delta Kitchen Faucet Leaks
Delta faucets are known for their durability and stylish designs, but like any mechanical device, they are susceptible to wear and tear over time. Understanding the common causes of leaks is the first step in diagnosing the problem. The most frequent culprits include:
- Worn-out O-rings and Seals: These rubber components create a watertight seal between faucet parts. Over time, they can dry out, crack, or become brittle, leading to leaks around the spout or handle.
- Damaged Cartridge: Cartridge faucets rely on a plastic or brass cartridge to control water flow and temperature. A damaged or corroded cartridge can cause leaks, especially around the handle area.
- Loose or Corroded Connections: The connections between the faucet body, water supply lines, and sprayer hose can loosen or corrode, resulting in leaks underneath the sink.
- High Water Pressure: Excessive water pressure can put stress on the faucet’s internal components, accelerating wear and tear and increasing the likelihood of leaks.
- Mineral Buildup: Hard water contains minerals that can accumulate inside the faucet, clogging passages and damaging seals, leading to drips and leaks.
Delta Faucet Technology: A Brief Overview
Delta Faucet Company has been a leader in the plumbing industry for decades, known for its innovative technologies and commitment to quality. One of their most notable advancements is the DIAMOND Seal Technology. This technology uses a valve embedded with diamonds to provide a long-lasting, leak-free seal. While DIAMOND Seal Technology significantly reduces the chances of leaks, even these advanced faucets can experience issues over time due to external factors like water quality and usage frequency.
Essential Tools and Materials for Fixing Leaky Faucets
Before you begin any repair work, gather the necessary tools and materials. Having everything on hand will make the process smoother and more efficient. Here’s a checklist of essential items:
- Adjustable Wrench: For loosening and tightening nuts and connections.
- Screwdrivers (Phillips and Flathead): For removing handles and accessing internal components.
- Pliers: For gripping and manipulating small parts.
- Allen Wrench Set: For removing set screws on some faucet handles.
- Basin Wrench: For reaching and loosening nuts in tight spaces under the sink.
- New O-rings, Seals, and Cartridge: Purchase replacement parts specifically designed for your Delta faucet model.
- Plumber’s Grease: For lubricating O-rings and seals to ensure a watertight fit.
- White Vinegar: For soaking and cleaning mineral deposits.
- Clean Rags or Towels: For wiping up spills and keeping your work area clean.
- Bucket: To catch any water that may drain from the pipes.
Step-by-Step Guide to Diagnosing and Repairing Common Delta Faucet Leaks
Follow these steps to diagnose and repair common Delta faucet leaks. Remember to turn off the water supply to the faucet before starting any repair work.
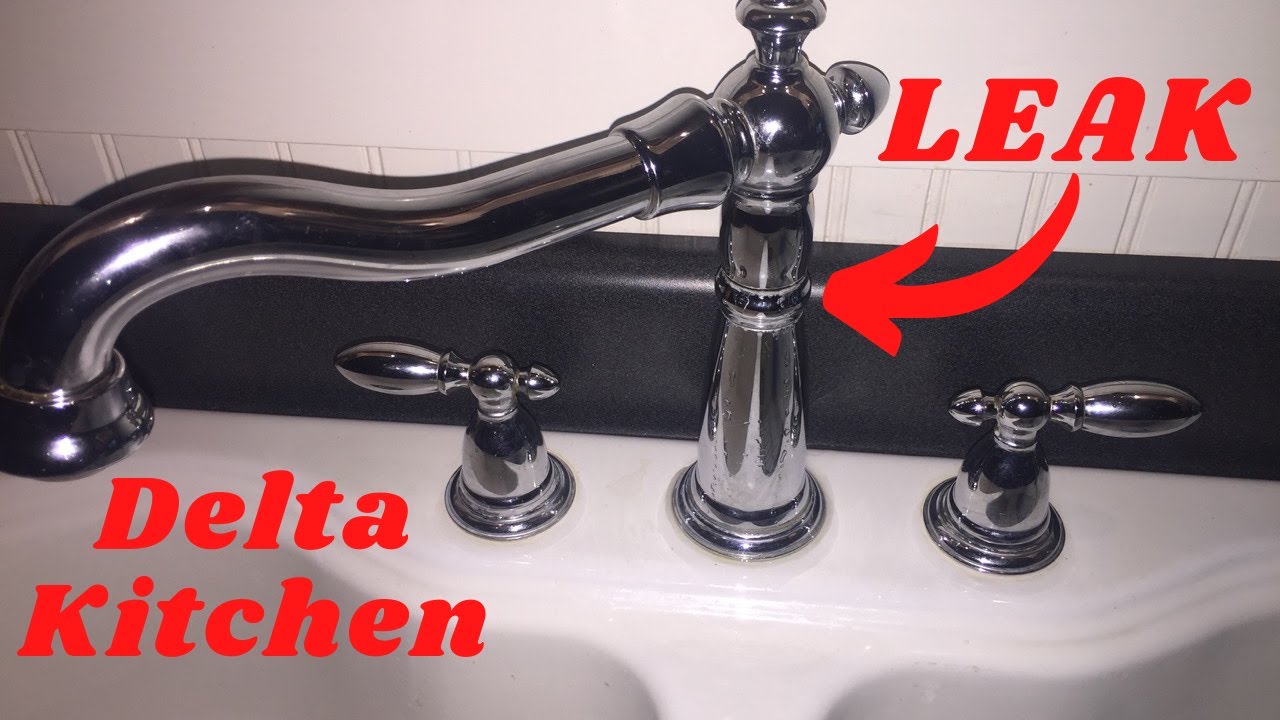
1. Identifying the Source of the Leak
Carefully inspect the faucet to pinpoint the exact location of the leak. Is it dripping from the spout, leaking around the handle, or pooling under the sink? This will help you determine which parts need to be inspected and potentially replaced.
2. Shutting Off the Water Supply
Locate the shut-off valves under the sink. There should be separate valves for hot and cold water. Turn both valves clockwise until they are completely closed. If you don’t have shut-off valves under the sink, you’ll need to turn off the main water supply to your house.
3. Disassembling the Faucet
Depending on the type of Delta faucet you have (single-handle, two-handle, or pull-down), the disassembly process may vary slightly. Consult your faucet’s instruction manual or search online for a diagram specific to your model. Generally, you’ll need to remove the handle, spout, and any decorative trim to access the internal components.
4. Inspecting and Replacing O-rings and Seals
Once you’ve disassembled the faucet, carefully inspect all O-rings and seals for signs of wear and tear. If they appear cracked, brittle, or deformed, replace them with new ones. Apply a thin layer of plumber’s grease to the new O-rings before installing them to ensure a proper seal.
5. Replacing the Cartridge (If Necessary)
If the leak is coming from around the handle or the faucet is difficult to turn, the cartridge may be the problem. Remove the old cartridge and install a new one, making sure it is properly aligned. Delta cartridges are designed for easy replacement, often requiring only a screwdriver and a few minutes of your time.
6. Tightening Loose Connections
Check all connections between the faucet body, water supply lines, and sprayer hose. Use an adjustable wrench to tighten any loose nuts or fittings. Be careful not to overtighten, as this could damage the connections.
7. Cleaning Mineral Deposits
If you notice mineral buildup inside the faucet, soak the affected parts in white vinegar for several hours or overnight. This will help dissolve the mineral deposits and restore proper water flow.
8. Reassembling the Faucet
Once you’ve replaced any worn-out parts and cleaned any mineral deposits, reassemble the faucet in the reverse order of disassembly. Make sure all parts are properly aligned and securely tightened.
9. Turning on the Water Supply and Testing for Leaks
Slowly turn on the water supply and check for leaks around the faucet. If you still see leaks, double-check your work and make sure all parts are properly installed and tightened.
Preventing Future Leaks: Maintenance Tips for Delta Faucets
Preventing leaks is always better than fixing them. Here are some maintenance tips to keep your Delta faucet in top condition:
- Regular Cleaning: Clean your faucet regularly with a mild soap and water solution to remove dirt and grime. Avoid using abrasive cleaners, as they can damage the finish.
- Check for Leaks Regularly: Inspect your faucet periodically for any signs of leaks. Catching a small leak early can prevent it from becoming a bigger problem.
- Maintain Proper Water Pressure: Ensure that your home’s water pressure is within the recommended range (40-60 PSI). If it’s too high, consider installing a pressure regulator.
- Use a Water Softener: If you have hard water, consider installing a water softener to reduce mineral buildup in your plumbing fixtures.
- Replace Worn-out Parts Promptly: Don’t wait until a leak becomes severe to replace worn-out O-rings, seals, or cartridges. Replacing these parts proactively can prevent more extensive damage.
Delta Faucet’s Commitment to Quality and Customer Support
Delta Faucet Company stands behind its products with a limited lifetime warranty. If you experience any problems with your Delta faucet, contact their customer support team for assistance. They can provide troubleshooting advice, replacement parts, or even arrange for a professional repair.
Expert Insights on Choosing the Right Replacement Parts
When replacing parts for your Delta faucet, it’s crucial to choose the correct replacement parts. Using generic or incompatible parts can lead to further damage and leaks. Here’s some expert advice:
- Identify Your Faucet Model: Before ordering any parts, identify your faucet model number. This information is usually printed on a sticker or plate on the faucet body or in the original product documentation.
- Purchase Genuine Delta Parts: To ensure compatibility and quality, purchase genuine Delta replacement parts from an authorized dealer or online retailer.
- Consult a Plumbing Professional: If you’re unsure about which parts to order or how to install them, consult a licensed plumber. They can provide expert advice and ensure that the repair is done correctly.
Addressing Specific Delta Faucet Models and Their Common Leak Points
Different Delta faucet models may have specific common leak points due to their unique designs. Here’s a look at some popular models and their typical issues:
- Delta Leland: Often leaks at the base of the spout due to worn O-rings.
- Delta Essa: May leak around the handle due to a faulty cartridge.
- Delta Trinsic: Can experience leaks from the sprayer hose connection.
- Delta Addison: Known for potential leaks at the valve assembly.
Knowing the common issues for your specific model can help you diagnose and repair leaks more efficiently.
Is DIY Repair the Right Choice? When to Call a Professional Plumber
While many Delta faucet leaks can be repaired with DIY methods, there are situations where calling a professional plumber is the best course of action. Consider hiring a plumber if:
- You’re not comfortable working with plumbing.
- You’ve tried to repair the leak yourself, but it persists.
- The leak is causing water damage to your home.
- You suspect a more serious plumbing problem.
A licensed plumber has the expertise and tools to diagnose and repair complex plumbing issues safely and effectively.
The Importance of Water Conservation and Leak Prevention
Fixing a leaky faucet isn’t just about saving money; it’s also about conserving water and protecting the environment. A small drip can waste gallons of water over time, contributing to water scarcity and increasing your carbon footprint. By taking proactive steps to prevent and repair leaks, you can help conserve this precious resource and reduce your environmental impact.
Ready to Tackle That Drip?
Fixing a leaky Delta kitchen faucet can seem daunting, but with the right knowledge and tools, it’s a manageable DIY project. By understanding the common causes of leaks, following our step-by-step guide, and taking preventive measures, you can stop the drip, save money, and conserve water. If you’re ready to get started, gather your tools, identify the source of the leak, and follow our instructions carefully. And remember, if you’re ever unsure or uncomfortable, don’t hesitate to call a professional plumber for assistance. Your efforts contribute to both a well-maintained home and a more sustainable future. Share your experiences with fixing your leaky Delta faucet in the comments below!
